
Contacts
The Contacts feature allows you to manage the details of your customers and suppliers. Keeping these details up-to-date helps with E-Invoicing and record-keeping.
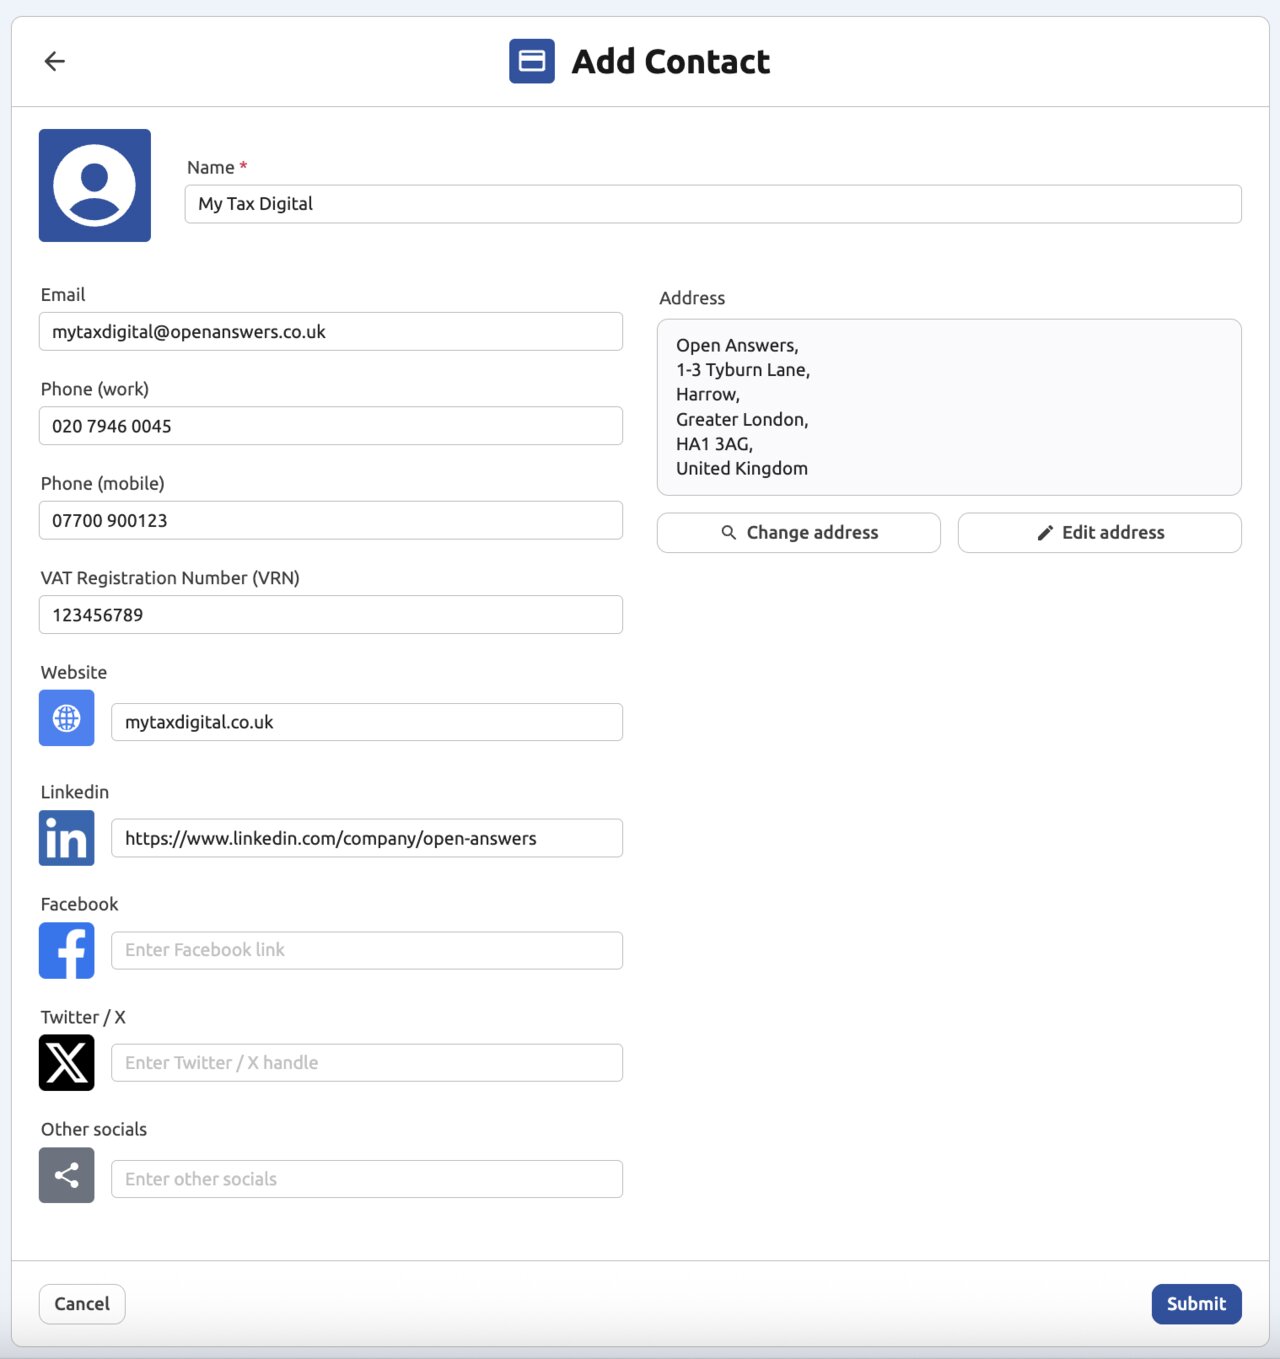
1. Adding a New Contact
-
Navigate to Contacts: Select Contacts from the main menu (under the Business section).
-
Add Contact: Click the blue "+ Add" button in the top-right corner.
-
Enter Details: Fill in the contact information, including the Name, Email, Phone, and Address (you can search or manually enter the address).
-
Optional Fields: You can also enter the contact's VRN (VAT Registration Number), Website, and various social media links (LinkedIn, Facebook, etc.). The VRN is stored for your reference only — it does not currently appear on invoices generated for this contact.
-
Click "Submit" to save the new contact.
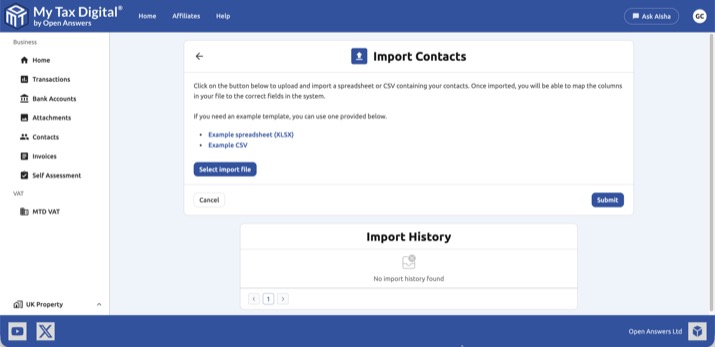
2. Importing Contacts from a CSV
You can quickly add multiple customers or suppliers by importing a contact list saved in a CSV file.
-
Navigate to Import: On the Contacts screen, click the "Manage" button, and then select "Import CSV".
-
Upload File: Click "Select import file" and choose the CSV or spreadsheet file you wish to upload. Example templates are available on this screen if you need them.
- Map Columns: Once the file is uploaded, the system will prompt you to match each column in your file to the correct field in the app (e.g., your file's 'Customer Name' → 'Name'). Required fields must be mapped before you can proceed.
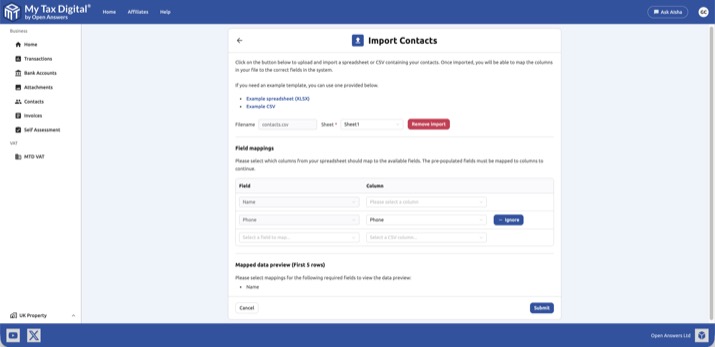
- Click "Submit" to finalise the bulk import of your contacts.
3. Exporting Contacts (Backup)
You can download a complete list of your customers and suppliers for backup or to use in other software.
-
Navigate to Export: On the Contacts screen, click the "Manage" button, and then select "Export CSV".
-
Download: A CSV file containing all your recorded contact details will be generated and downloaded to your computer.