E-Invoicing
The Invoices feature allows you to create, manage, and download professional sales invoices to share with your customers.
Important: Invoices created here are for sending to your clients only. They do not automatically appear in your VAT return or ITSA quarterly figures. To include income in a VAT return or quarterly update, you must also record it as a transaction in the Transactions section.
-
Navigate to Invoices: Select Invoices from the main menu (under the General section).
-
Create a New Invoice: Click the blue "+ Add" button in the top-right corner.
1. Creating the Invoice
-
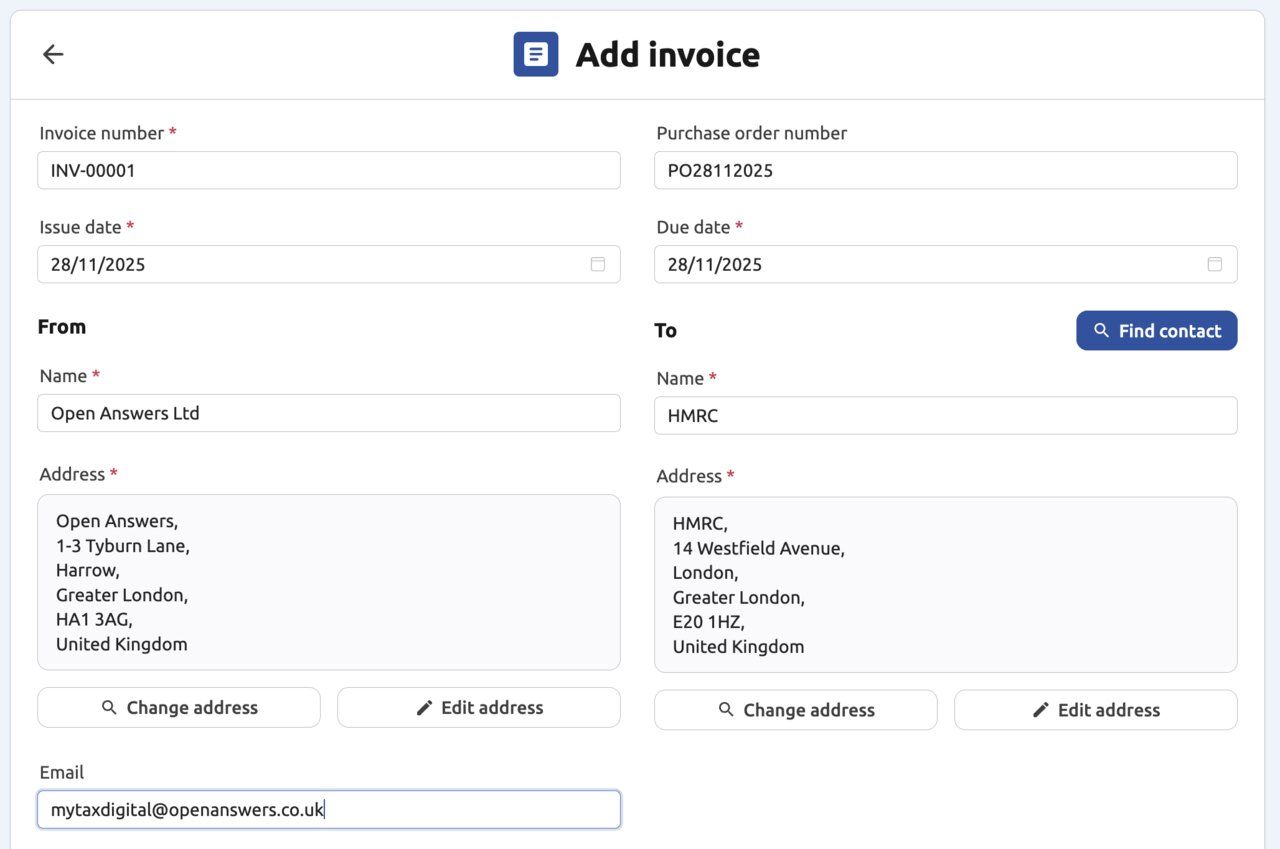
Header Details:
- The Invoice number is generated automatically, but can be overriden (e.g., INV-00001).
- Enter the Issue date and Due date for the payment.
-
Customer Details (To):
- Click "Find contact" to select an existing customer from your Contacts list, or manually enter the customer's details (Name, Address, Email). Note that a contact's VAT Registration Number (VRN), if stored in Contacts, does not currently appear on the invoice PDF — the customer section shows name and address only.
-
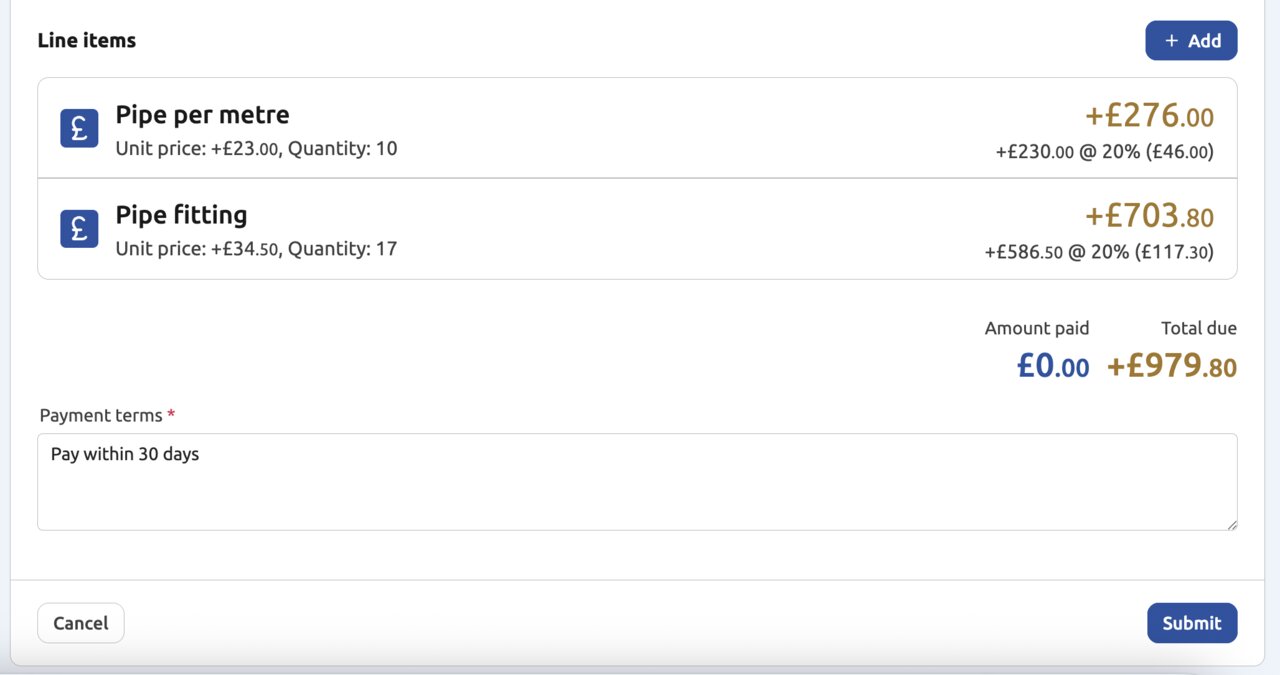
Line Items (Products/Services):
- Click the "+ Add" button below the Line Items section to add a product or service.
- Enter a Description, Quantity, and Unit price.
- Select the correct VAT rate (e.g., 20% VAT). The Total VAT is calculated automatically.
- Click "Confirm" to add the line item. Repeat for all items.
-
Payment Terms: Enter the agreed payment terms (e.g., "30 Days") in the Payment terms box.
-
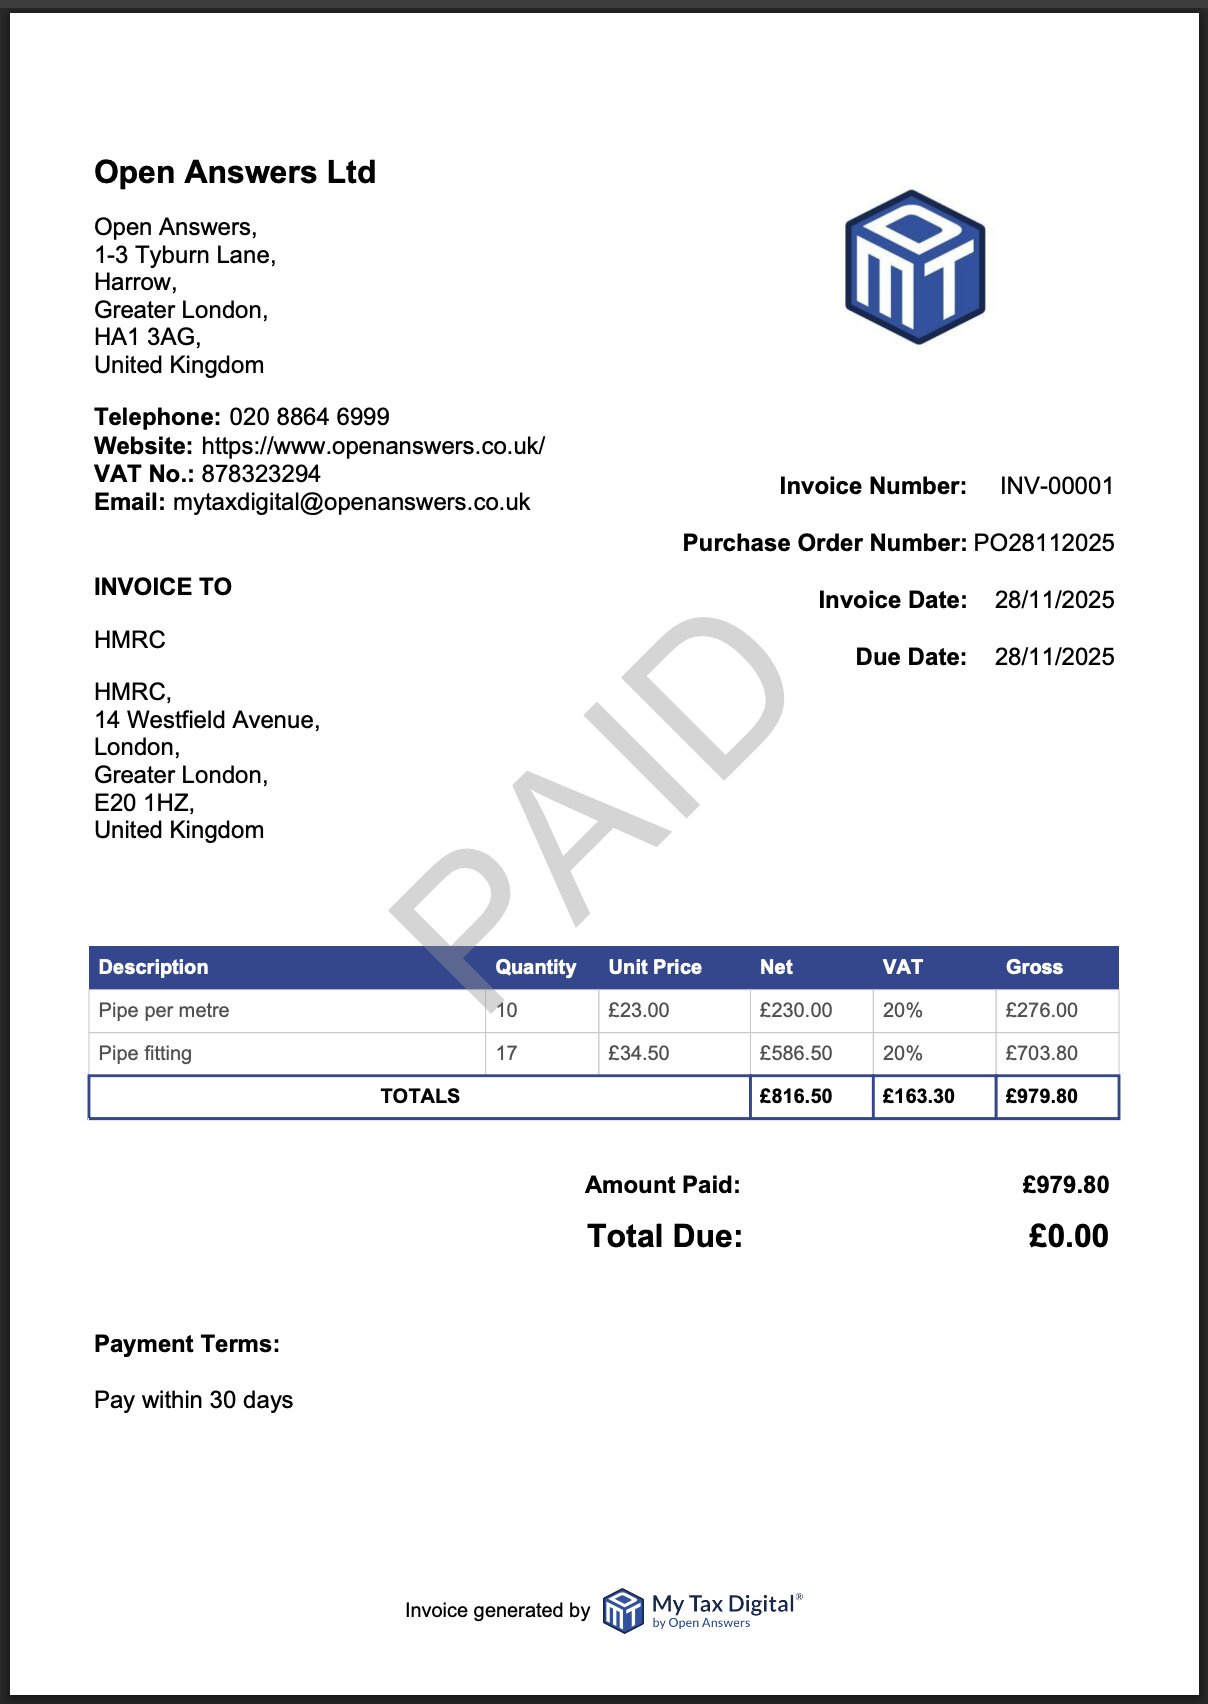
Save: Click the "Submit" button at the bottom to save and generate the invoice.
-
Send to your customer: Click "Manage" then "Download invoice" to save a PDF of the invoice. You can then email this directly to your customer.
2. Matching Payments (Reconciliation)
Once you receive the payment for a sales invoice, you must record it as a transaction to update your bank balance and digital records. My Tax Digital allows you to link the invoice to the transaction.
-
View Invoice: Open the specific invoice you want to mark as paid.
-
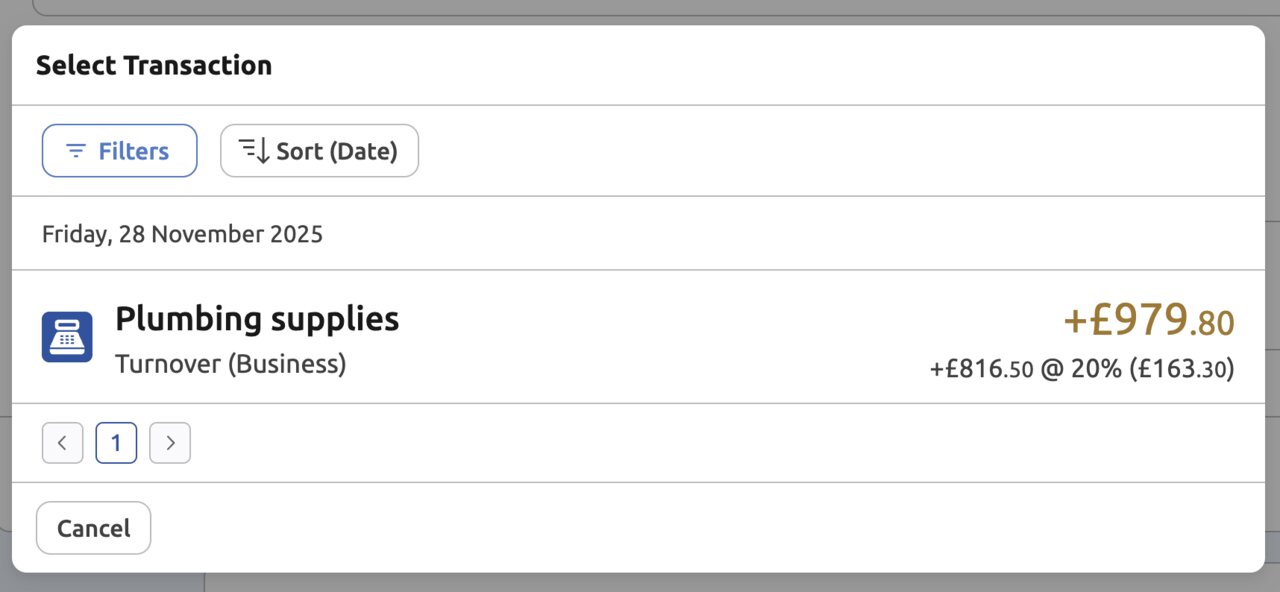
Match Transaction: Scroll down to the Associated Transactions section and click "+ Add".
-
Select Transaction: A window will appear showing recent income transactions. Click on the transaction that represents the customer's payment (e.g., Sales +£1,000.00).
-
Match: Clicking on the transaction links it to the invoice. The invoice will now display the amount paid and the total due will show £0.00.
-
You can re-download the invoice at any time via "Manage" → "Download invoice".
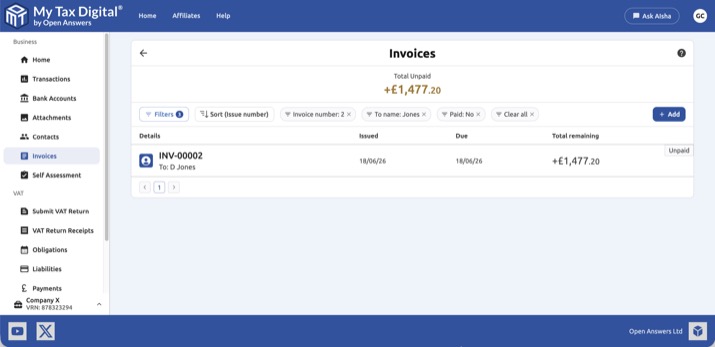
3. Filtering Invoices and Running Total
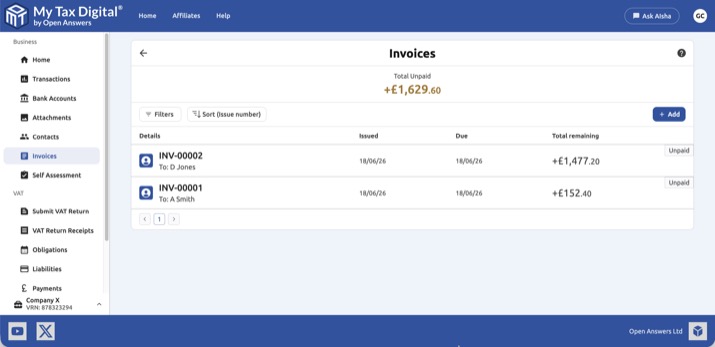
The invoices list displays a Total Unpaid running total above the list, showing the outstanding balance across all — or the currently filtered — invoices.
To narrow the list, click the "Filters" button on the left of the toolbar to open the filter panel.
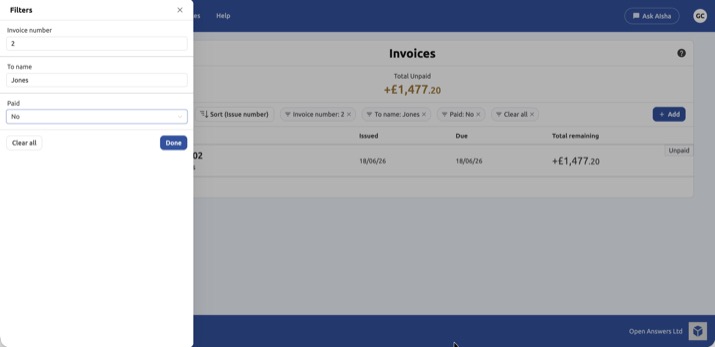
The following filters are available:
- Invoice number — enter all or part of an invoice number (e.g.,
2matches INV-00002). - To name — enter all or part of the customer name.
- Paid — select Yes to show only paid invoices, or No to show only unpaid invoices.
Once you have set your criteria, click "Done". The active filters appear as chips in the toolbar — click the × on any chip to remove that filter, or use "Clear all" to reset. The Total Unpaid figure updates automatically to reflect the filtered results.